

How do I add a new Experience?
Every place, product, or point of interest you want people to interact with should have its own Experience. The easiest way to get started? Pick something you already have content for—like photos, videos, or helpful info—and build from there.
Here’s how to create a new Experience:
1. Log in to your 42Kites account and head to the My Experiences page.
2. Look for the section where you can add a name for your new Experience. (If you’ve already created others, the layout might look slightly different—but the process is the same.)
3. Enter a name. This is for your reference only—it won’t be visible to visitors.
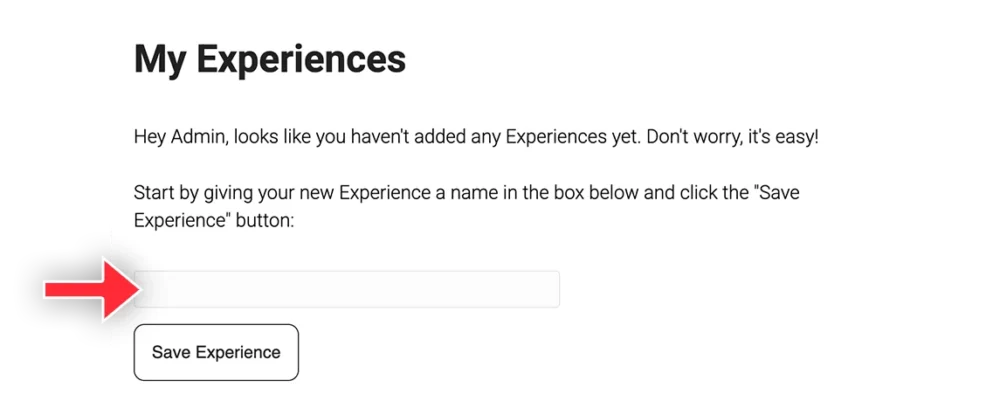
4. Click Save.
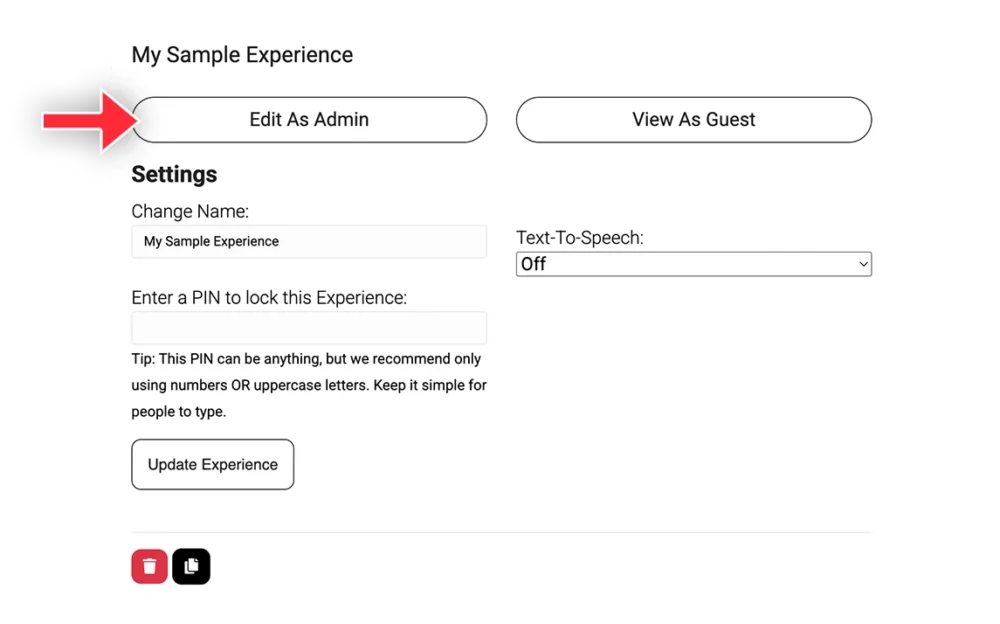
Your new Experience will now show up in your list. Click on it to expand the settings.
To start building it out, click the Edit as Admin button. That’ll open the editor where you can add content blocks—photos, videos, text, links—whatever you want. Add as much as you like.
You’re in control, and you can update or expand the Experience anytime.