

How do I add an image to my Experience?
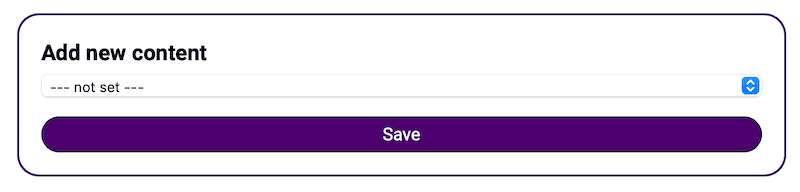
To add an image to your Experience, start by creating a new Experience or editing an existing Experience. On the Experience screen you will see a box labeled Add New Content. In that box is a dropdown menu with all the different types of content you can add. It looks like this:
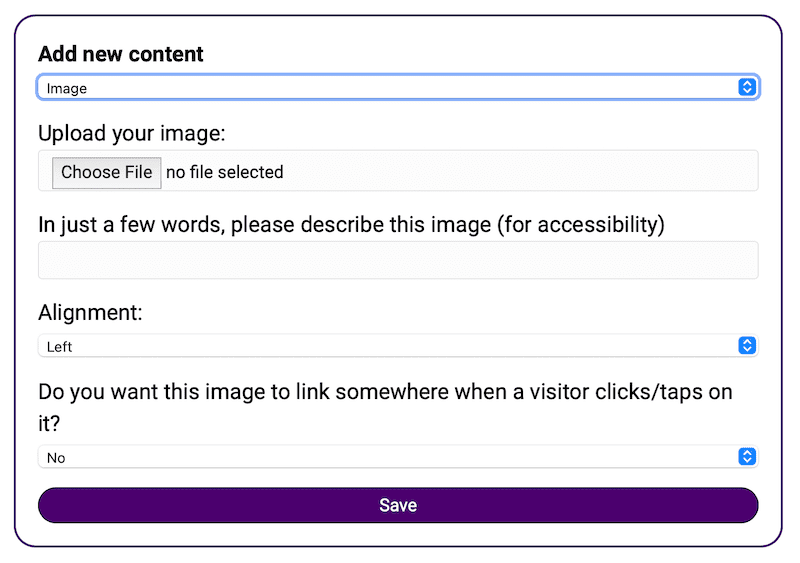
Click into that dropdown menu and select Image and then the options for an image will now appear. We recommend uploading your image by clicking the Choose File button and browsing to your image file. Once uploaded, we recommend typing in a few words in the next box for accessibility, this helps people with screen readers understand your image better. You can leave all the other formatting controls to the default setting (it will look good with the default selections).
Once you are done, click the Save button at the bottom.
Tips:
- All images within Experiences display up to a maximum 700 pixels wide so there is no need to upload larger images.
- If you uploading your logo (to the Shared Header) we recommend the width be no more than 300 pixels wide.
- You can make the image link to another URL (this is useful for sponsors ads where the banner should link to the sponsors website).