

How can the 42Kites system bring in extra revenue?
Note: Our Sponsor+ Program can handle all of this for you (including finding a sponsor).
It’s a simple concept. Local businesses (sponsors) want more exposure and you (a cultural / nonprofit organizations) can use your 42Kites system to give them the attention they are looking for… and that equals sponsorship dollars.
Whether you have existing sponsors you work with or you are looking to get new sponsors for your exhibits, the 42Kites system gives you a new place to display sponsor information.
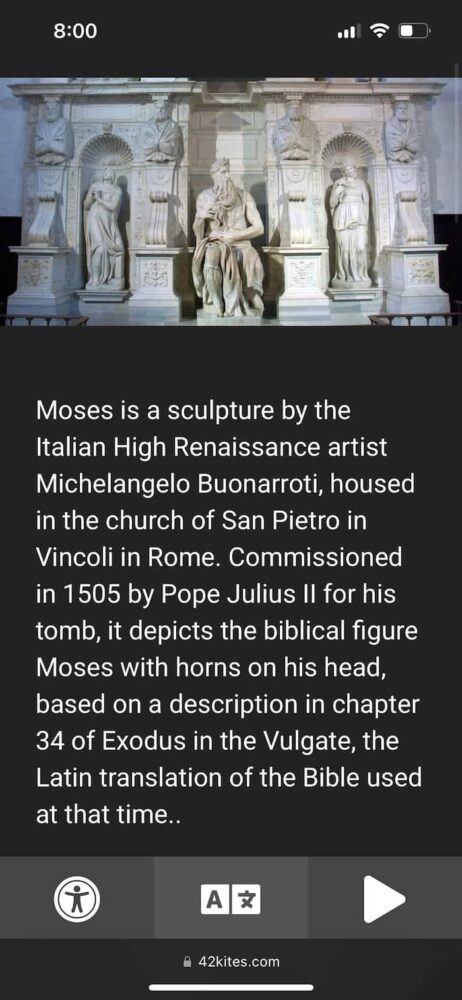
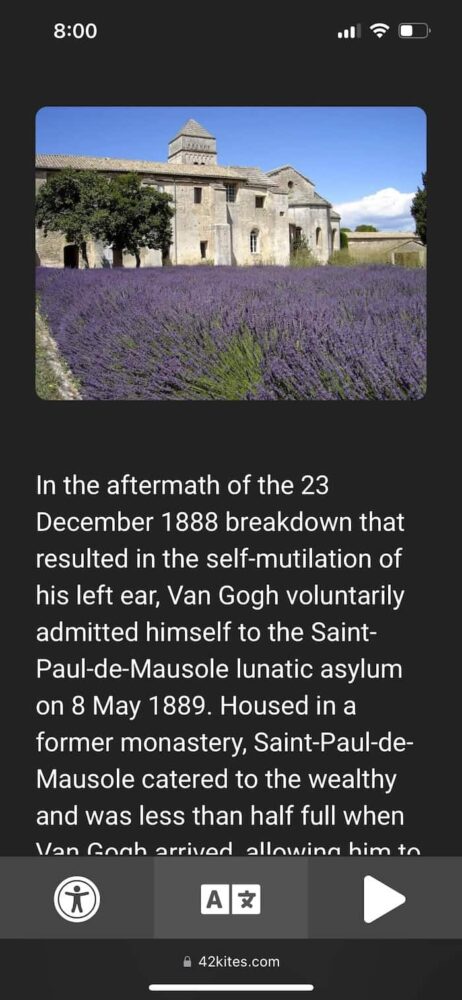
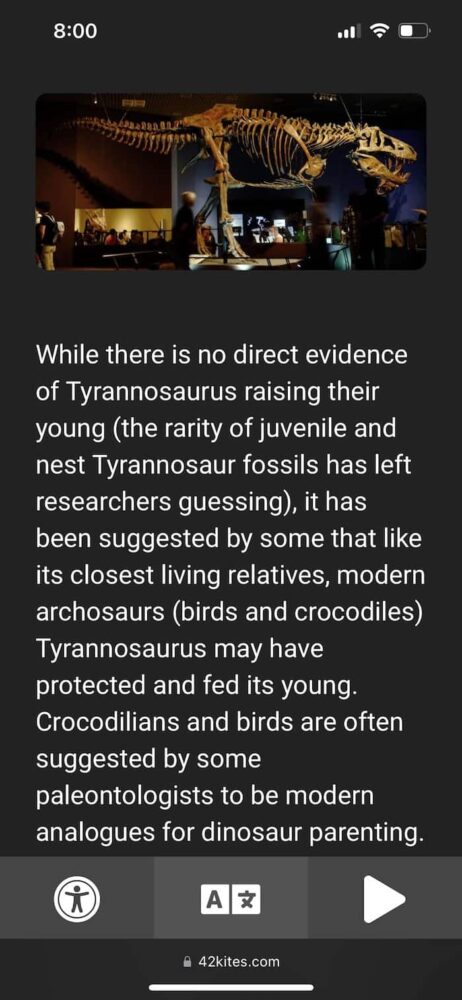
For this example, let’s say that you are a museum and you currently have three Experiences set up in your account and they look like this:
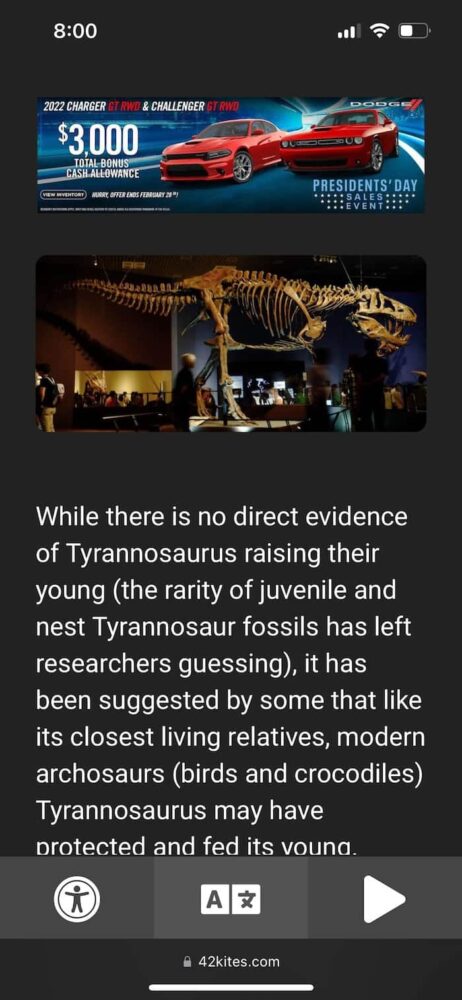
With those already set up, imagine a local car dealership approaches you and wants to donate money to your museum for a sponsorship / grant.
What do you do?
Well, the first thing is to say “Yes” then explain to them any other sponsorship opportunities you might have and tell them that you can now display a digital advertisement for their business across all your digital Experiences. When tapped, the banner ad can link guests to the car dealerships website. Even if the visitor doesn’t tap it, every visitors will be exposed to the car dealership brand as the banner ad will display at the top of the screen on their devices.
Assuming that the for-profit business wants more people to be exposed to their company (and they do!) the next step is to collect the sponsorship money (however you normally do that) then ask them to give you the banner ad that want to use.
If they don’t have a banner ad created, you can offer to have one created for them. But how? Well, included in your Premium 42Kites account is a feature called called the Helping Hand service, which gives you access to digital services like graphic designers, video editors and more.
If the car dealership does not have a banner ad ready, you can submit a ticket with the information about the dealership and the Helping Hand team will design a banner ad for you/them to use.
The end result is that you’ll have a banner ad for the car dealership that looks something like this:

Once you have the file, now it’s time to add it to the Shared Header which will display it across all of your Experiences (whether you have three or three hundred). You can also submit a ticket and we’ll do this for you.
If you want to DIY it, go to your My Experiences page where you’ll see a section that looks like this:
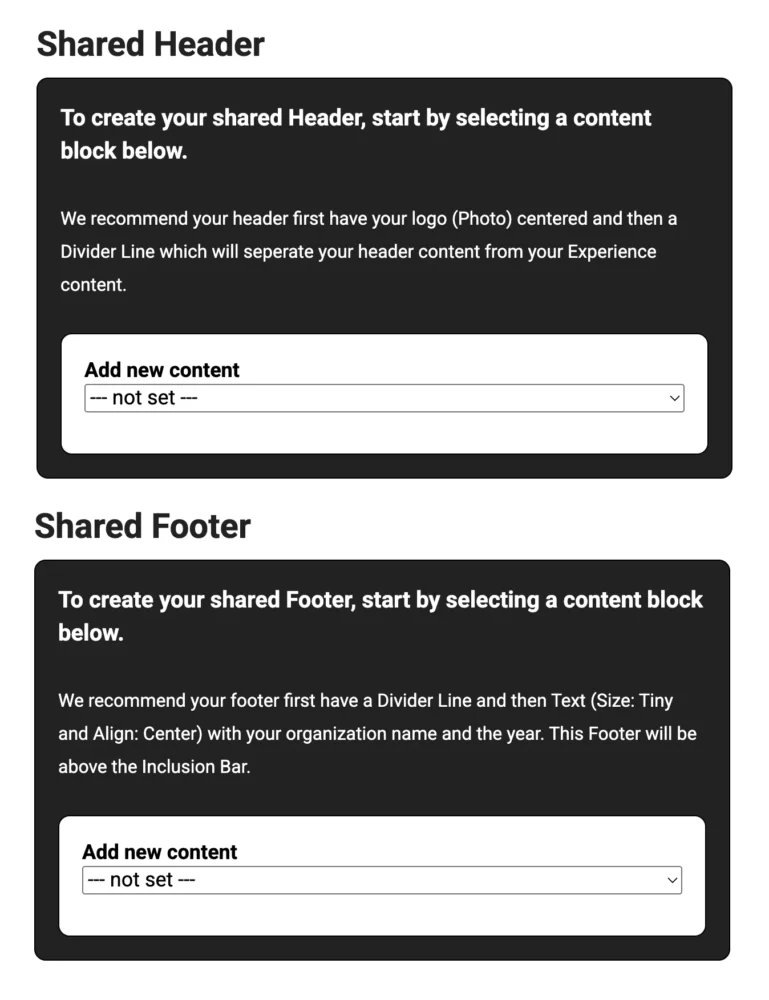
Anything added to the Shared Header will appear at the top of all your Experiences.
Anything added to the Shared Footer will appear at the bottom of all your Experiences.
Let’s say that the sponsor wants their banner ad at the top of your Experiences, that means it needs to be added to the Shared Header.
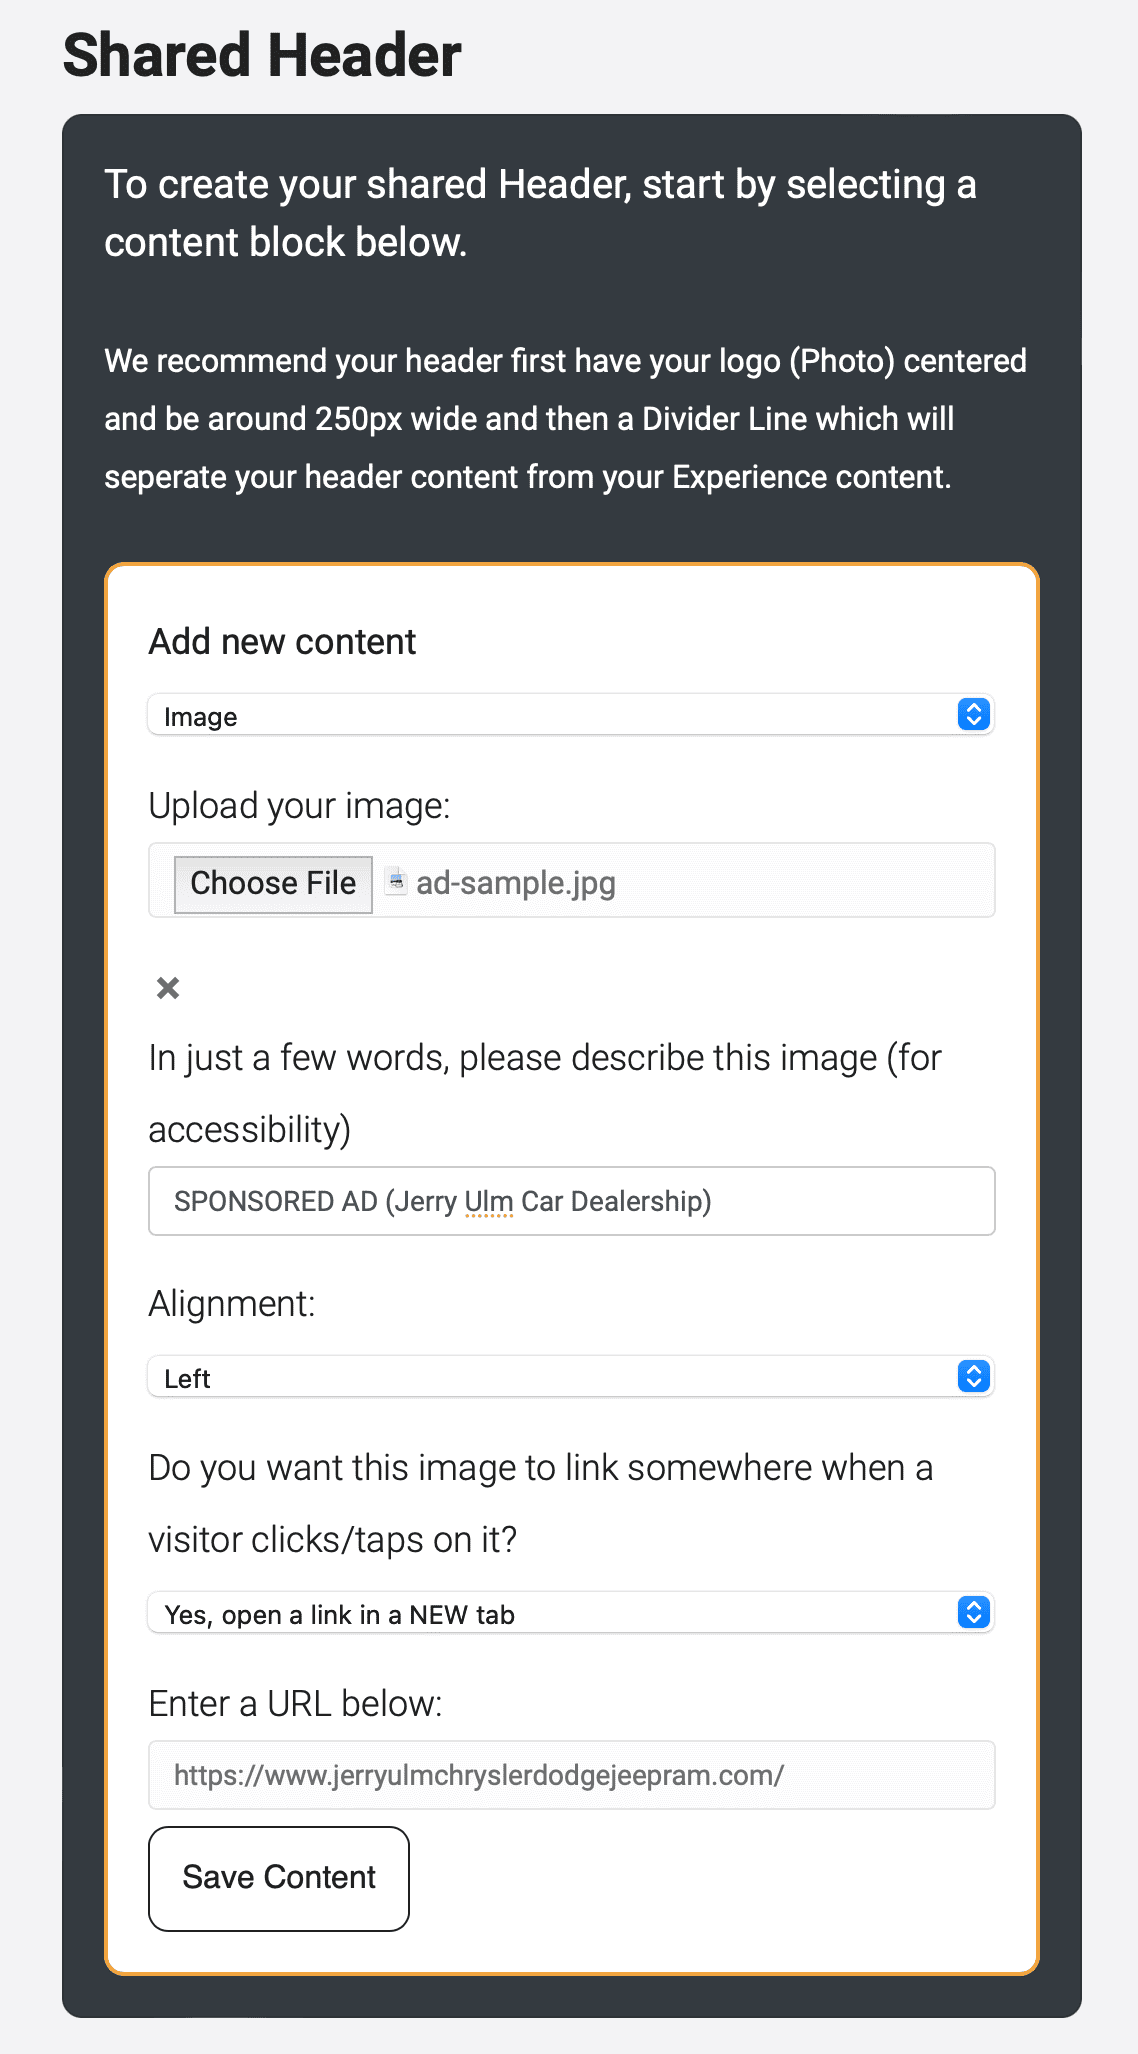
In the Shared Header box, click the Add new content drop down menu and select Image, upload the banner ad, give it some descriptive text, and enter the URL of the car dealership and have it open in a new tab (so when visitors taps the ad, it will bring them to the car dealerships website but keep the Experience tab open in their browser).
It should look something like this:
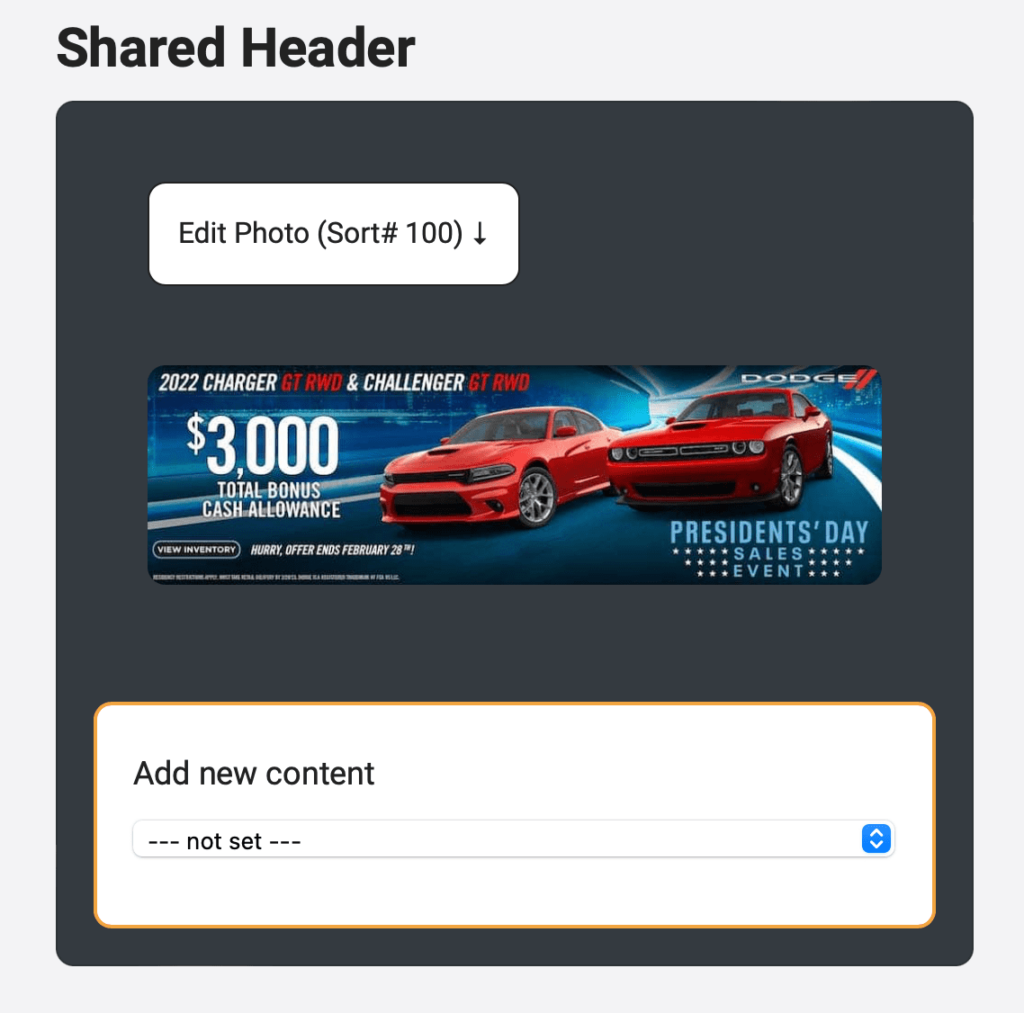
Once you save those settings, this screen will look now like this (you can click the Edit Photo button at anytime to make changes).
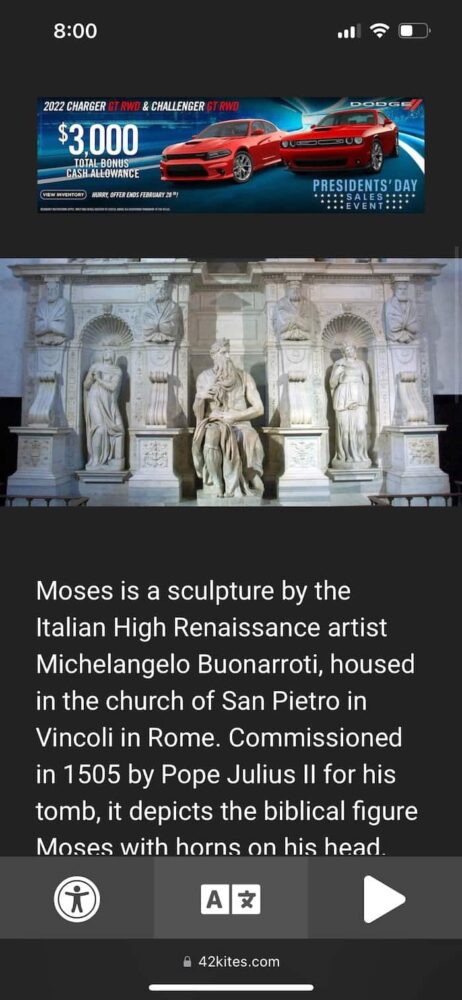
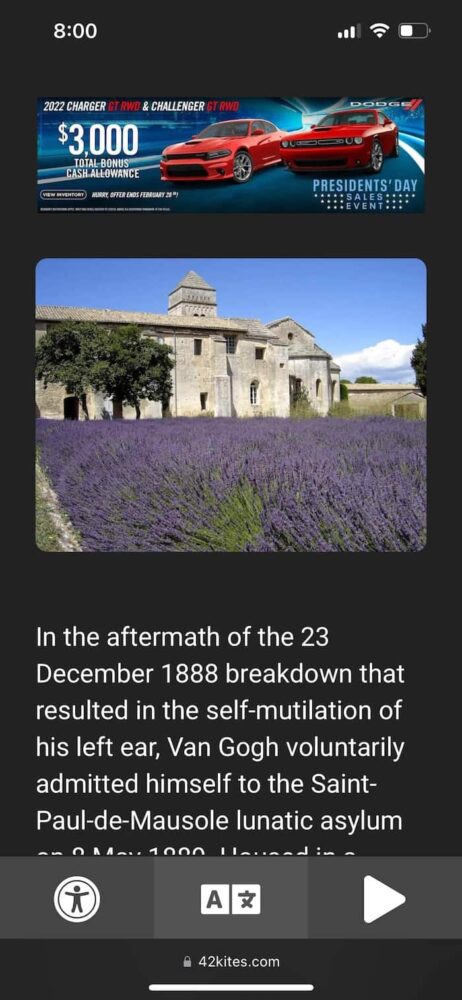
And now all of your Experiences will now have the car dealerships banner ad at the top:
The car dealership is happy because they are getting more exposure and you have a new source of revenue coming in. Win / Win!