

How do I configure a new SmartLink Card?
Jump to 5:35 in the video above to watch this process OR continue reading
You can configure your SmartLink Card using the Configuration Wizard on the My SmartLink Cards page in about a minute. Follow these instructions:
- Login to your 42Kites account
- Navigate to the My SmartLink Cards page
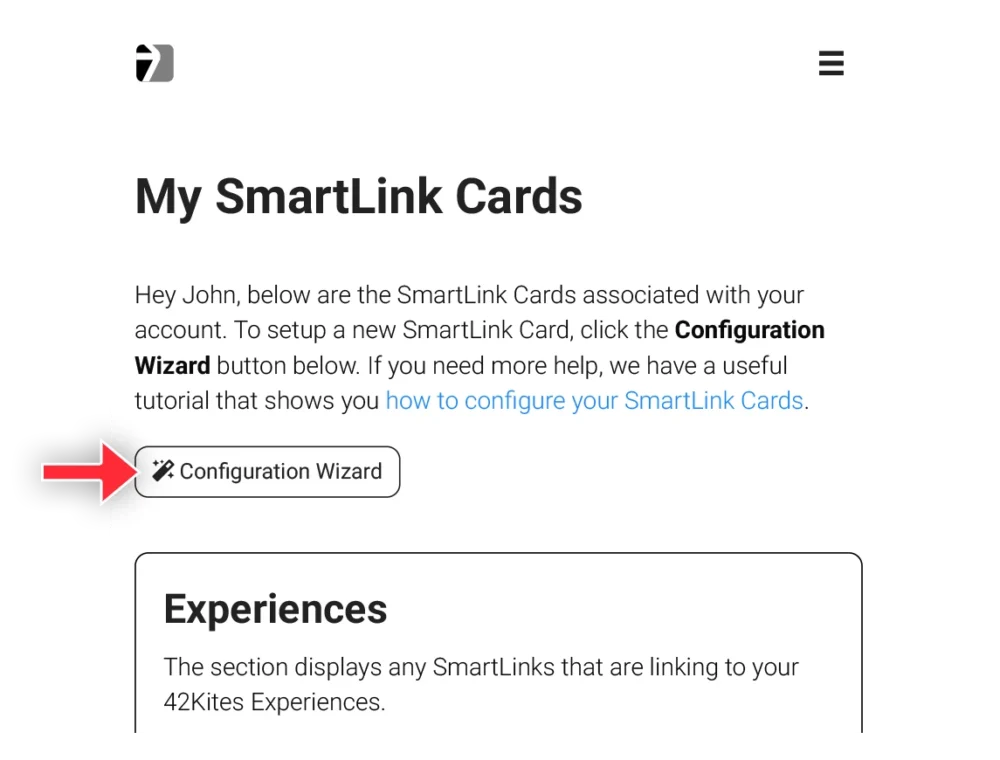
- Click the Configuration Wizard button, it looks like this:
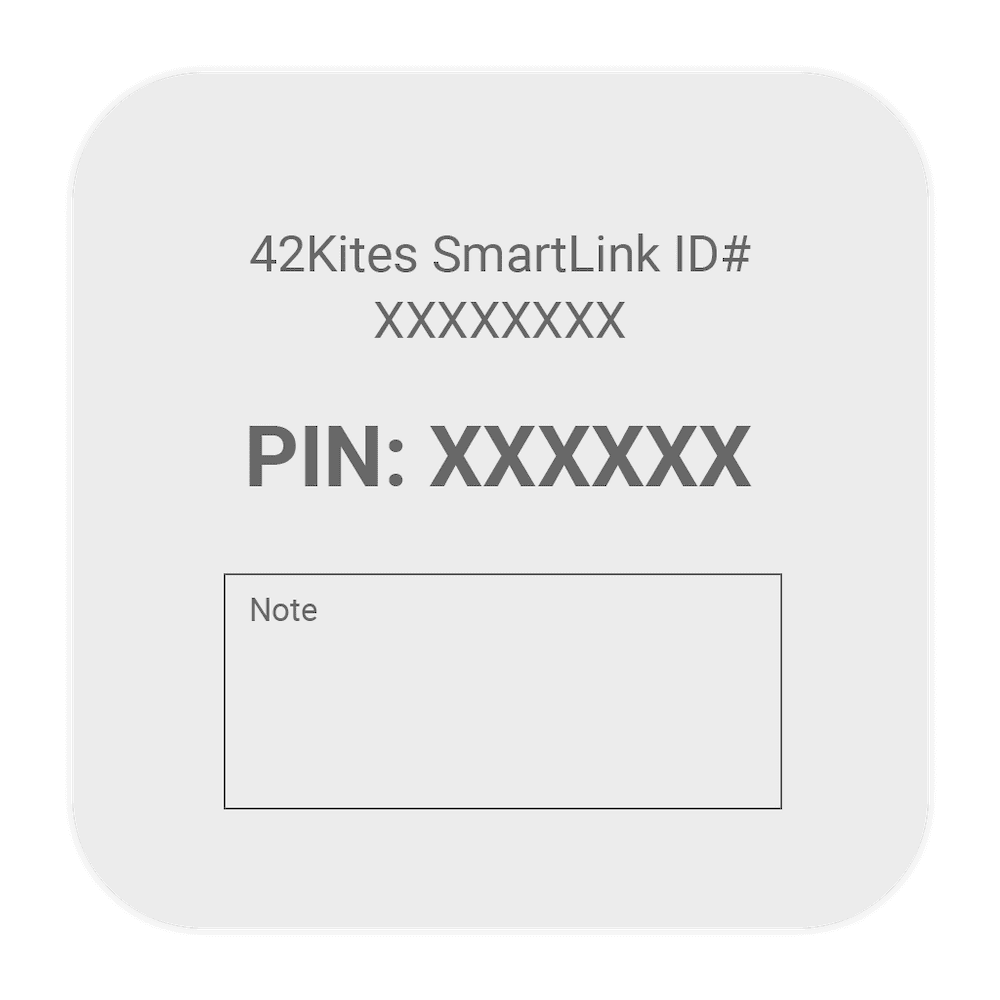
That will expand the Configuration Wizard, now look on the BACK of your SmartLink Card, you’ll see the ID (on top) and the PIN (on bottom), it looks something like this:
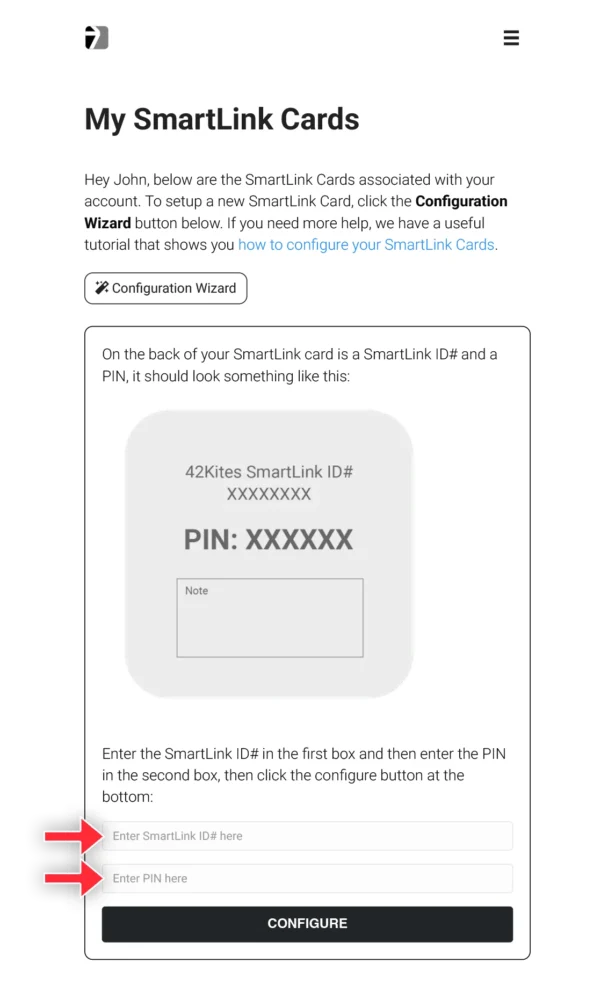
With the Configuration Wizard expanded, enter the ID in the top box and the PIN in the bottom box:
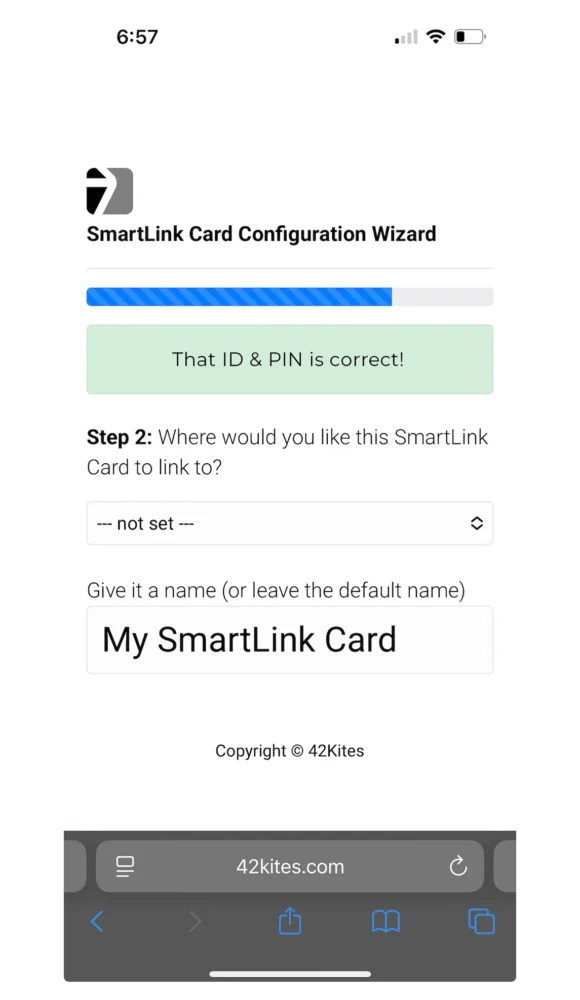
Once submitted you can choose where you want it to link to. You can either have it link to one of your 42Kites Experiences (recommended) or have it link to an External URL.
Select an option below to continue this tutorial: