

Configure a SmartLink Card to link to one of my 42Kites Experiences?
Once you have entered the SmartLink Card PIN during the configuration, you’ll now be able to link it to one of your Experiences (this screen will show you how) or link it to an external URL (like your website, your Instagram account, etc…).
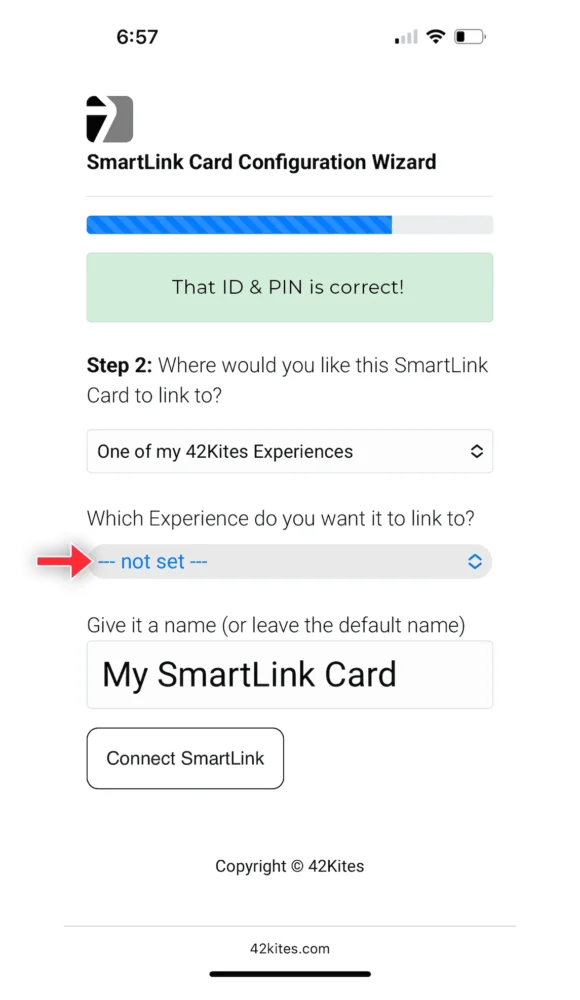
After verifying the SmartLink Card PIN, you’ll see Step 2 of the Configuration Wizard. Click into the first dropdown menu select One of my 42Kites Experiences like this:

A new dropdown menu will now appear (below the first one), click that and you can select the Experience you want to the SmartLink Card to link to.
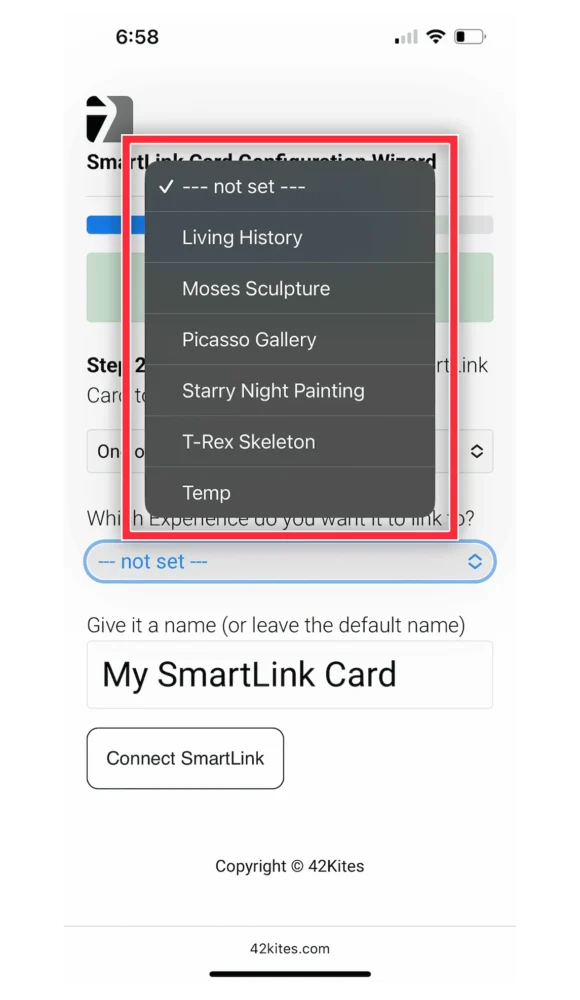
Once you have completed that step, click the Connect SmartLink button and you are finished.
It’s always a good idea to make sure it is linking the way you want, so after you see the confirmation message you should scan/tap the SmartLink Card with your mobile device and verify where it links.