

How do I add a Google Form?
Adding a Google Form to your Experiences lets visitors easily submit information to you (for promotions, feedback, etc…) and once submitted, you will have access to that user data within your Google account. The first step in adding a Google Form to your 42Kites Experience is creating the Google Form.
Below is a video from Google showing you how to create a Google Form and you can also check out their Google Forms Training & Help Resources.
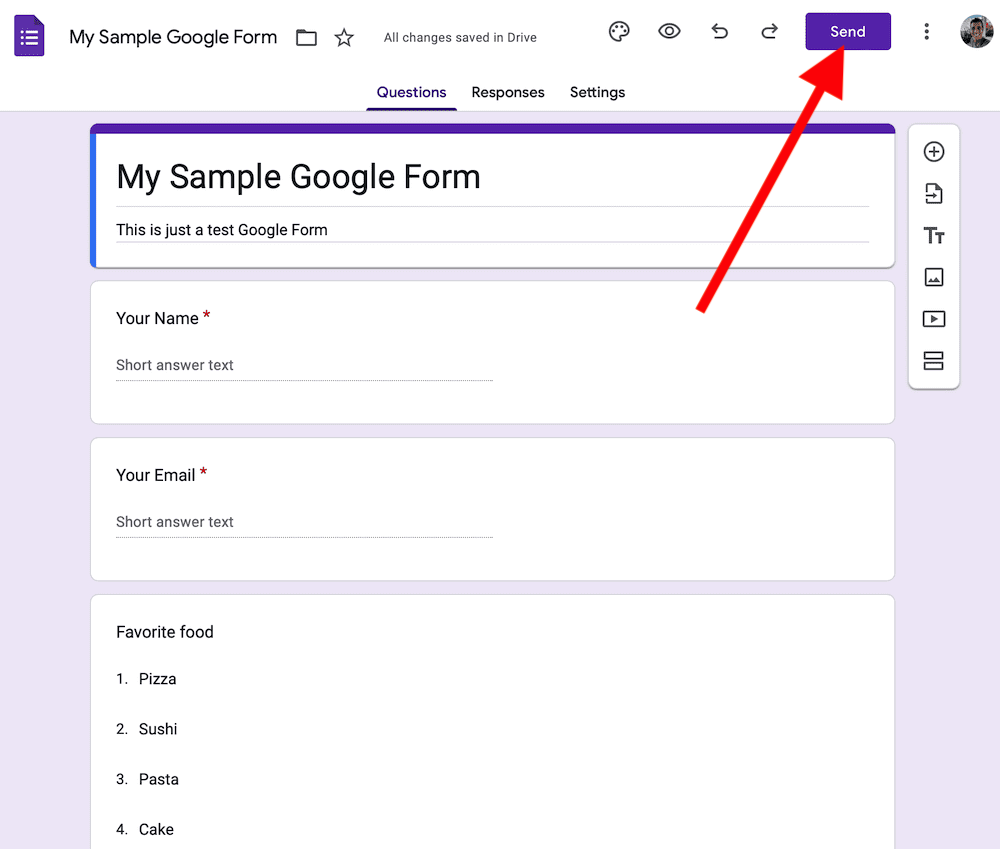
Start by creating your Google Form and adding the form fields and selecting the options that work for your particular needs. Once your Google Form is complete click the Send button:
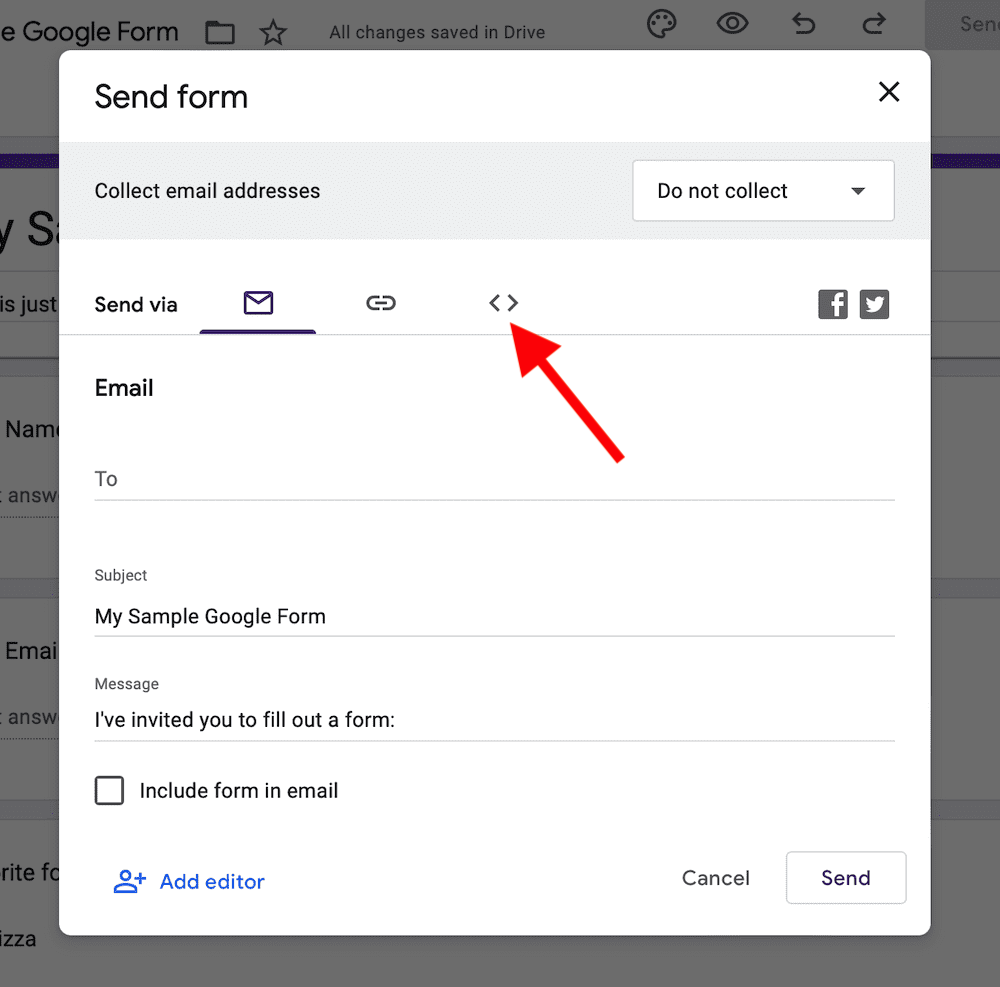
Then click the embed icon (looks like two arrows pointing in opposite directions):
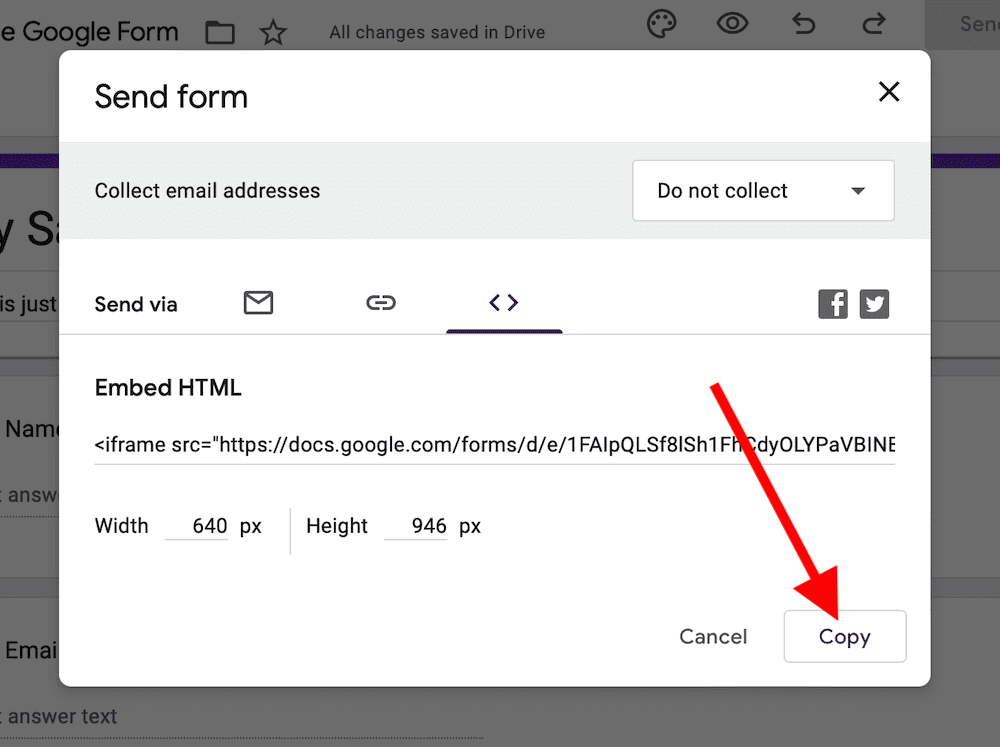
Once you are on the embed tab, click the Copy button:
With the embed code copied, login to your 42Kites account and create a new Experience or edit an existing Experience. On the Experience screen, you will see a box labeled Add New Content. In that box is a dropdown menu with all the different types of content you can add. It looks like this:
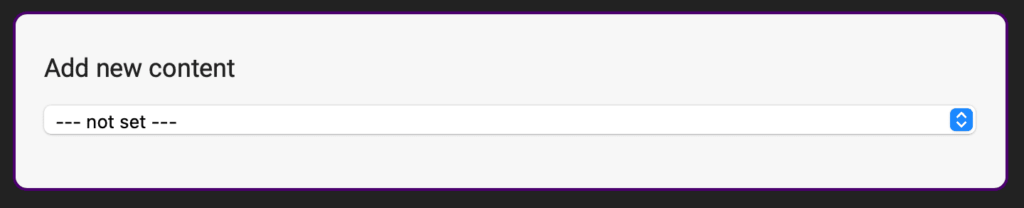
Click into that dropdown menu and select Google Form and then the fields for adding a Google Form will appear:
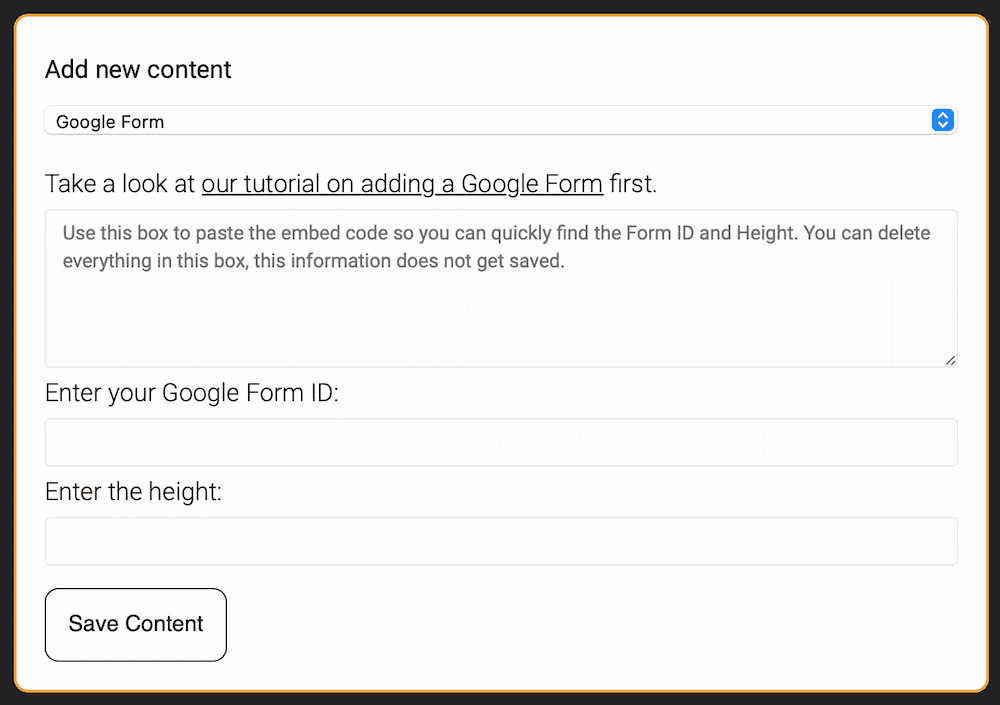
At the top you’ll see a big box that is essentially a text pad in your browser, this area if for you to play around with the embed code you just copied. Anything in this box does NOT get saved anywhere, so don’t worry about leaving stuff in this box.
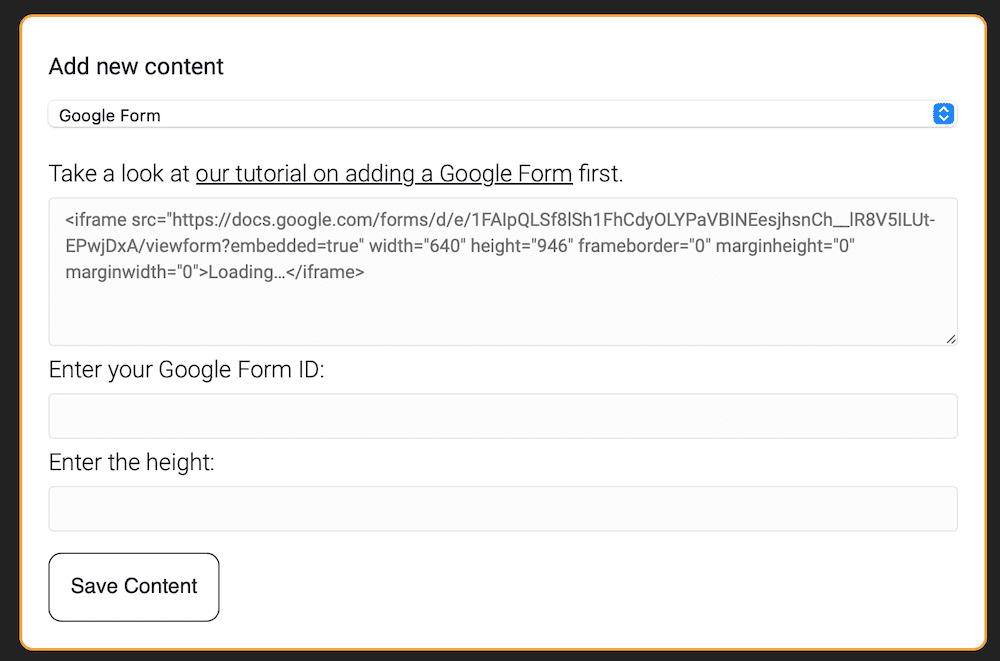
Click into the big box, delete the default text and PASTE the Google Form embed code that you just copied from Google Forms. You need to get two pieces of information from that embed code but don’t worry, it’s easy! Your screen will now look something like this:
If you look on the second line of the above screenshot (it might be further down on your screen) you’ll see height=”X” where X is an actual number. You can see the height in the red box below, copy and paste or manually enter the numbers (not the “”) into the Height box near the Save Content button, like this:
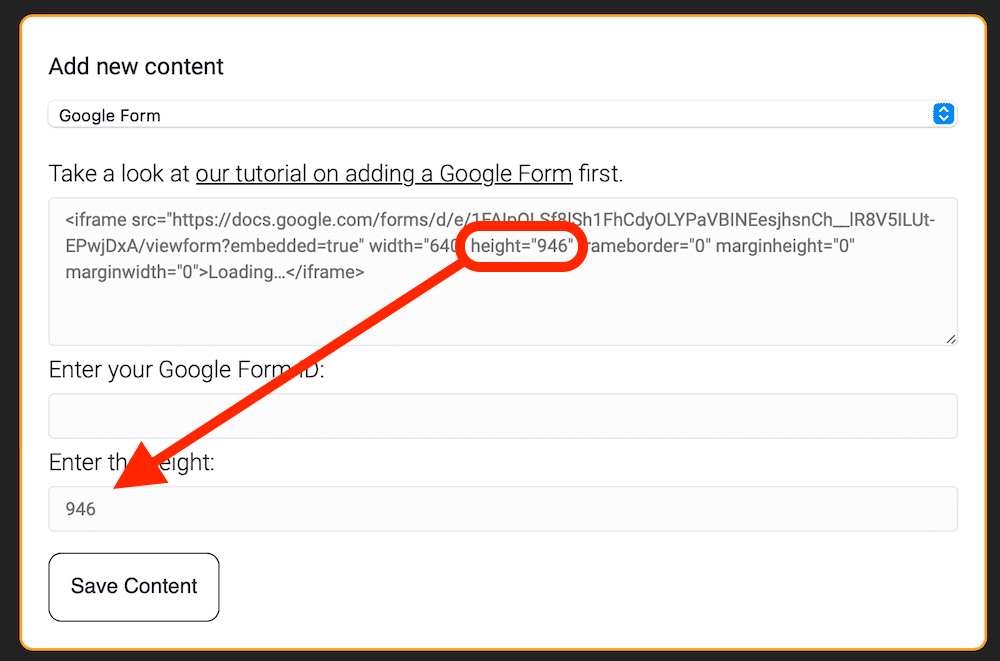
Easy, right?
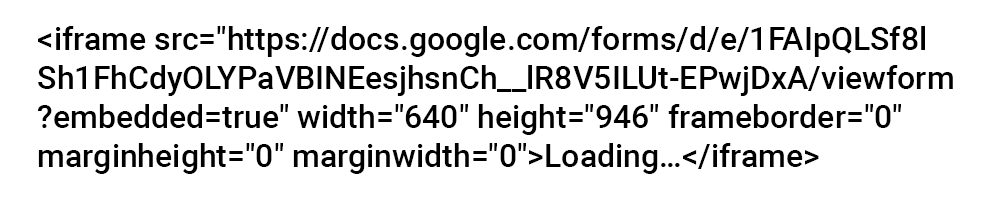
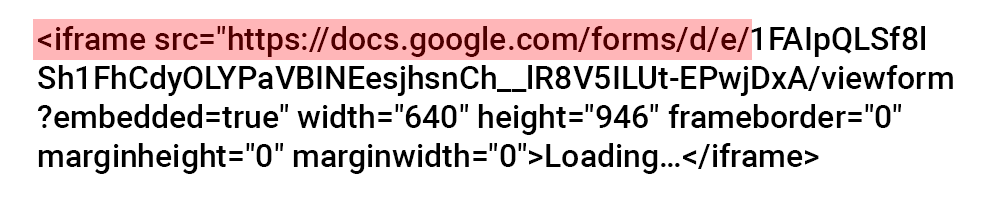
The next piece of information you need is the Form ID contained within that embed code. Let’s start deleting things! This is how your embed code looks now:
Starting at the beginning of that code, select everything from the “<iframe” to (and including) the “/d/e/”, like this:
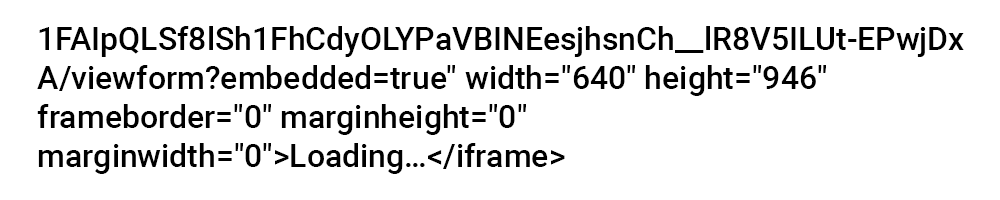
With that code selected, DELETE it! Yes, just click delete, you do not need that! You’ll now be left with this:
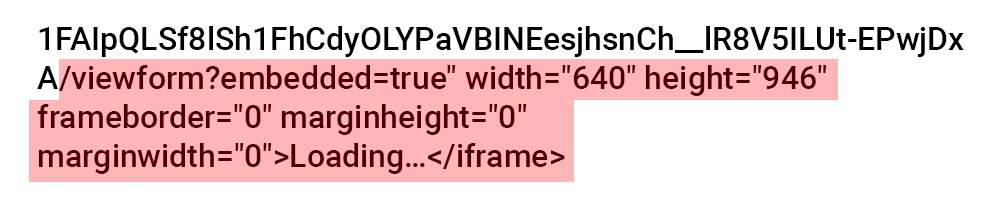
Almost done! Starting at the “/viewform” select everything else all the way to end of that remaining code and then DELETE it, like this:
The end result of your DELETING should look something like this… make sure there are no slashes at the beginning or end:

NOTE: Sometimes there might be one character on a different line (like the A in this screenshot).
What is remaining is the Google Form ID! Copy and paste the remaining bunch of random letters and numbers into the Google Form ID field, like this:
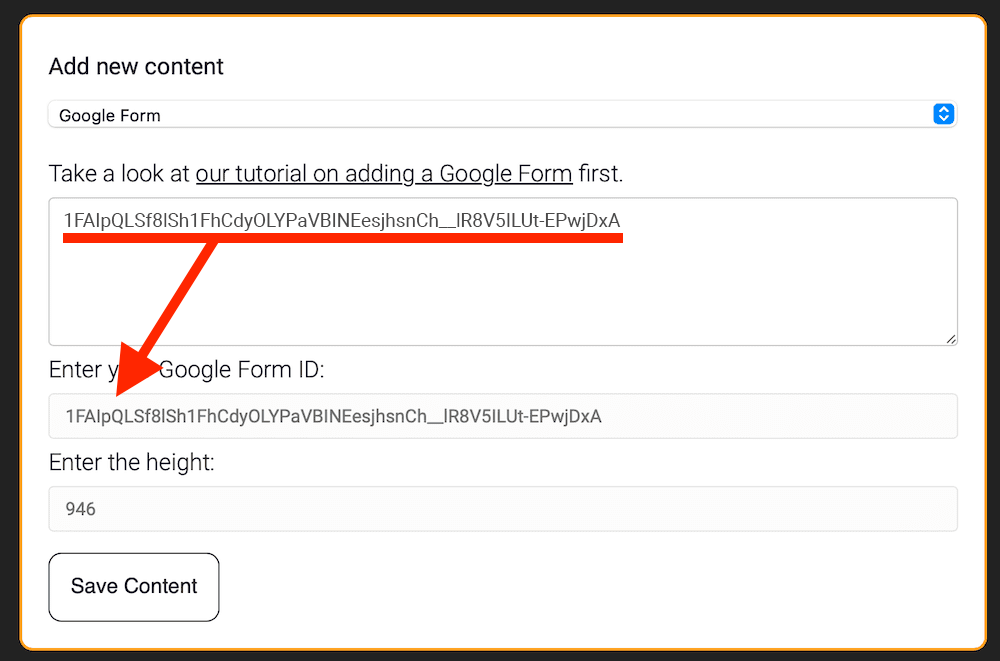
The last thing to do is to click the Save Content button and your Google Form will now be embedded in your Experience, it look look something like this:
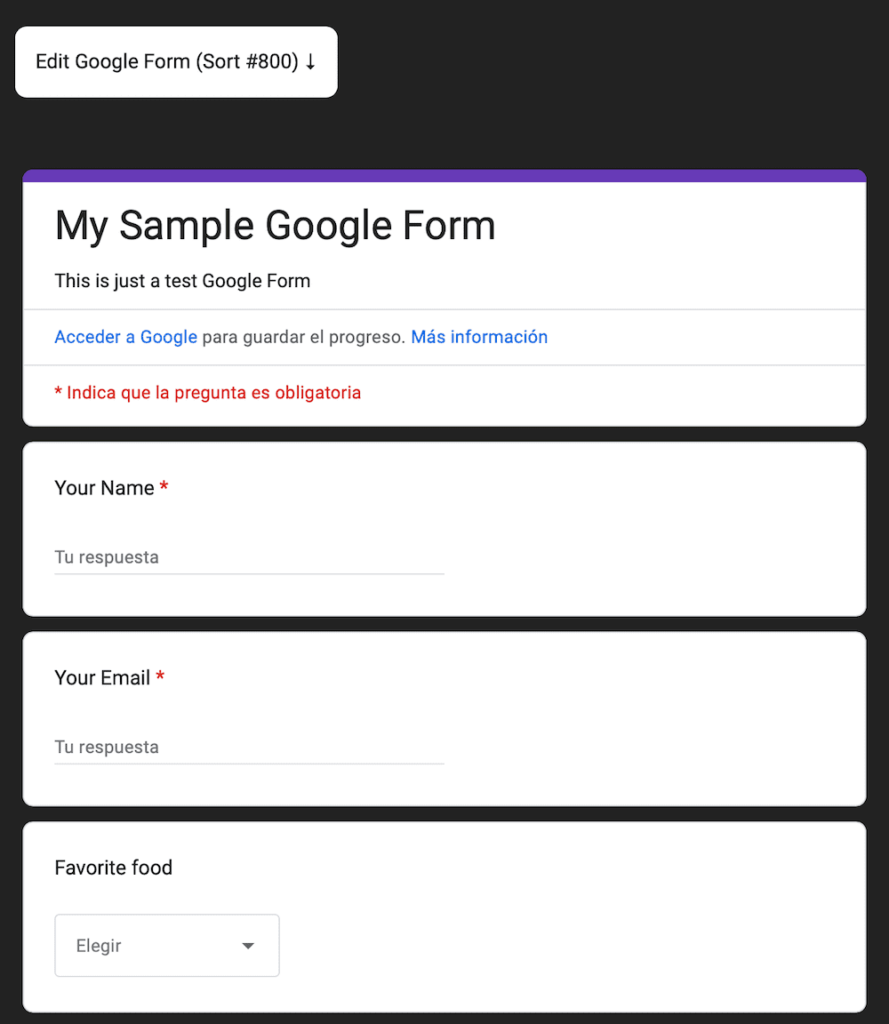
NOTE: Depending on the form fields you added to your form, you might need to adjust the Height number. After you save your form, check the Experience on your mobile device and see if the bottom of the form is getting cut off, if it is… increase the height number and check it again. This sometimes happens because Google does not take into consideration long form fields on mobile devices.