

How do I add live chat from Tawk.To?
Adding live chat to your Experiences gives your visitors the ability to quickly get answers from staff quickly. One of the best (and free!) live chat systems is Tawk.To, it has tons of useful features and there no need to even enter a credit card number. You can use this on your main website and on all your Experiences. Follow the instructions below:
Once your Tawk.To account is set up, navigate to the Administration tab in your Tawk.To control panel and copy the Property ID, it will look like this:

You’ll need that unique ID to add to your 42Kites Experiences and there are two ways to do that:
OPTION #1 To add the live chat to ALL your Experiences
- Login to your 42Kites.com account
- Edit your Footer (on the My Experiences screen)
- Add a new content module and select the Live Chat (Tawk.To) option
- A box will appear asking you for your Property ID, paste the code you copied into that box
- Save your changes
- Your live chat window will now appear on ALL your Experiences
OPTION #2 To add live chat to one (or a few) Experiences
- Login to your 42Kites.com account
- Add or Edit any Experience
- Add a new content module and select the Live Chat (Tawk.To) option
- A box will appear asking you for your Property ID, paste the code you copied into that box
- Save your changes
- Your live chat window will now appear on that ONE Experience (you can repeat this for as many Experience as you want)
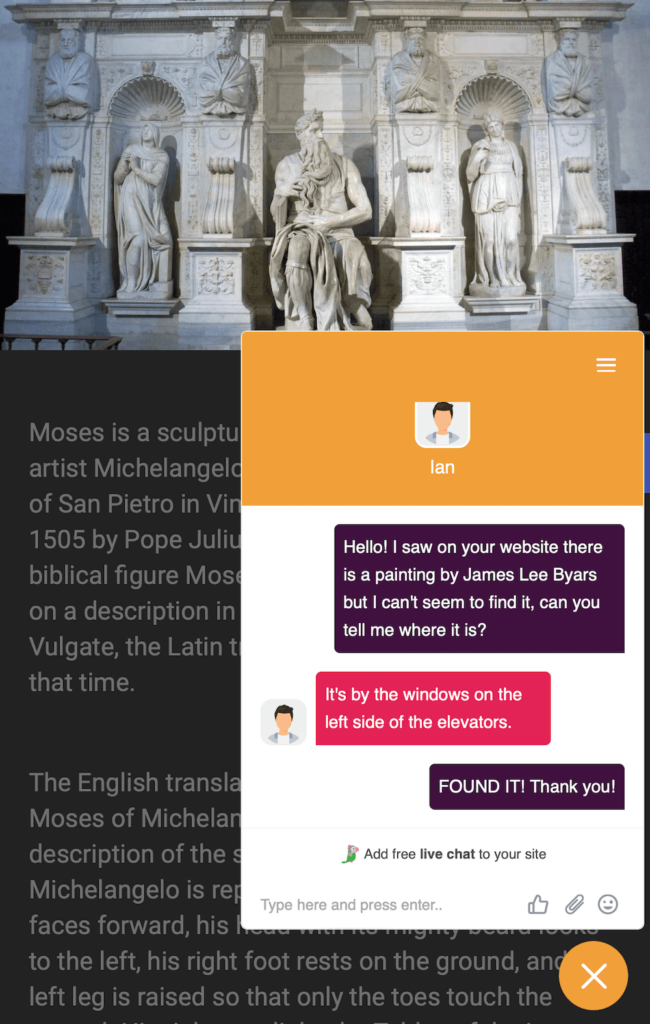
Whether you add the Tawk.To live chat to all your Experiences or just one, the end result will look something like this (Note: you control the colors and design of the chat window in your Tawk.To account):
About Domain Restriction: If you enabled Domain Restriction so that your chat code will only appear on certain domains, you’ll need to follow THESE INSTRUCTIONS (under Domain Restriction) and add 42kites.com as an authorized domain.