
How do I show people where they are in the museum?
Adding a floor map with a small “You are here” marker is the perfect way to keep visitors on-track and heading in the right direction. The 42Kites system makes this easy to implement, just follow these instructions:
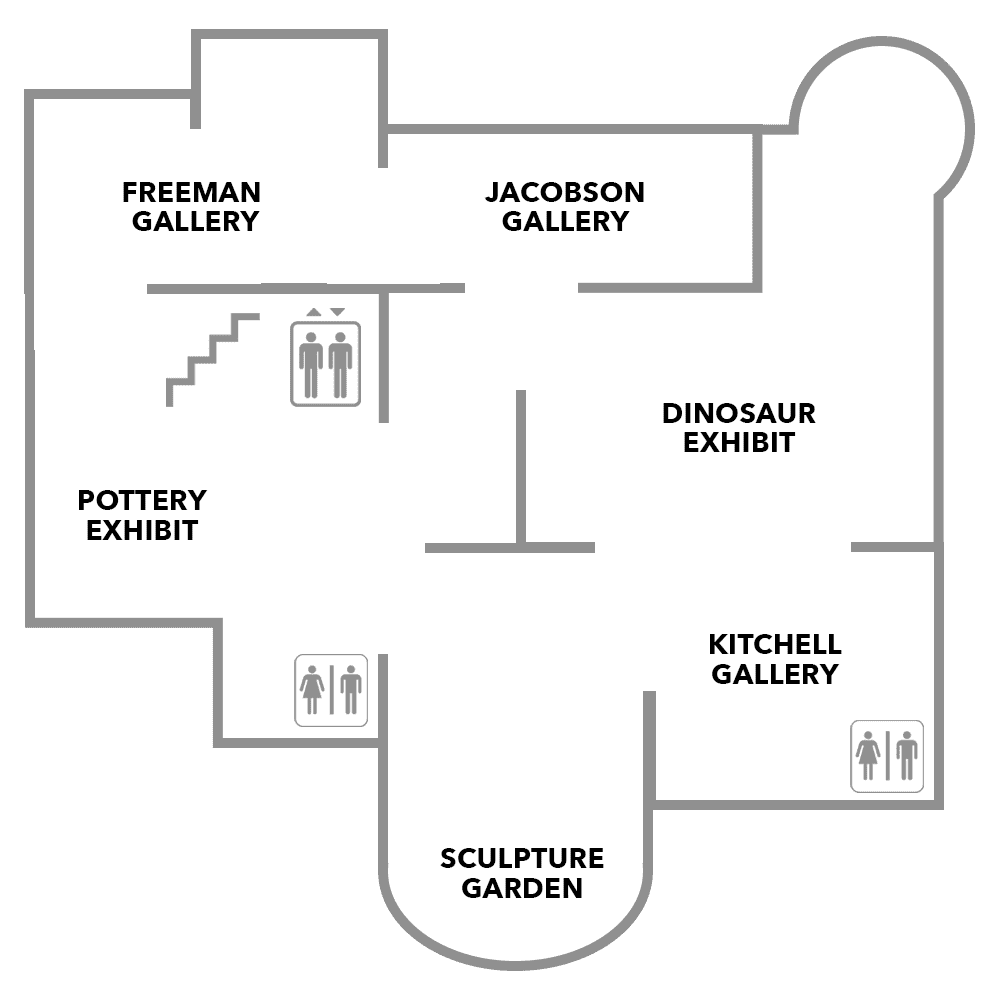
The first thing you’ll need is the actual floor map of your building.

NOTE: Using the Helping Hand feature included with your paid 42Kites account, we can make these digital maps for you!
With that floor plan available, you’ll need to create a simplified version that can easily be understood on small mobile device screens. Exclude things like structural and electrical elements and instead only include the shape of the rooms, exits, stair cases and bathrooms. One of the easiest ways to do this is to take a photo of the blueprint and then bring it into Photoshop and use that to lay shapes over the rooms.
If your museum is multiple floors, repeat this step for each floor.
The end result should be that you have one simplified image for each floor of your museum.
The next part is to place a small visual marker on the image to indicate where the visitor is standing… but how do you know? That’s easy!
Keep in mind that you already created Experiences and mounted the SmartLink holders on the wall and you know where those holders are mounted within your museum/gallery so now you need to place one “You are here” marker (one for each Experience) that appears on the map.
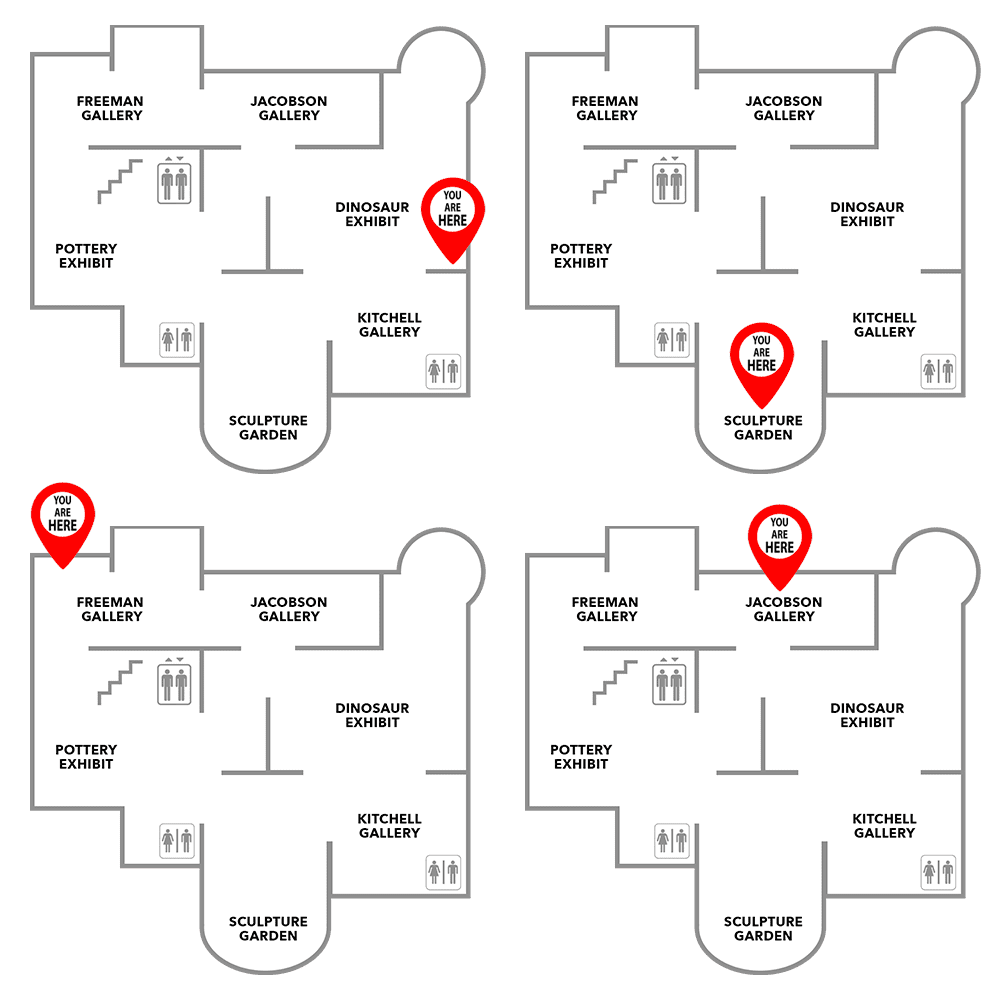
Make a new version of the map for every holder you have mounted in your museum and add one map image to the corresponding Experience. We recommend putting it in the same place within the experience (either the very first content block or the last). Keeping it consistent across your Experiences will help visitors understand where to find the map.
Now each time a SmartLink is scanned (or tapped) the visitor will see a “You are here” marker in a different position on the map and always know where they are.
